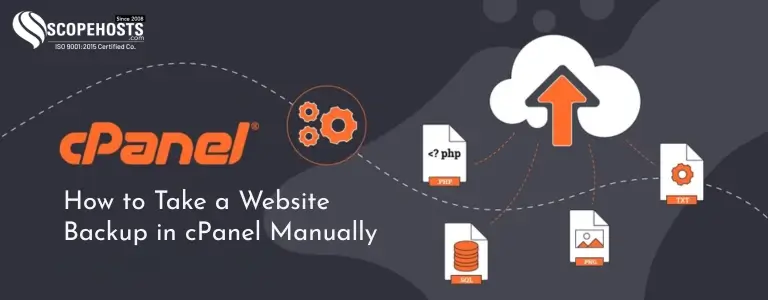
Taking regular website backup in cPanel is one of the smartest things any website owner can do. A website may stop working because of a plugin issue, accidental file deletion, malware infection, server error, theme conflict, or even a wrong code change. When that happens, a recent backup can save hours of stress and help you restore your site quickly.
Many website owners depend only on auto backups, but manual backups are equally important. They give you direct control over your website data and let you save a copy before making any major change. If you are updating your CMS, switching themes, editing code, or moving your site, taking a manual backup first is always a safe move.
This guide explains how to take a website backup in cPanel manually in a simple step-by-step way. It is written for beginners, so even if you have never used cPanel much before, you should be able to follow it easily.
Why manual backup is important
A lot of hosting plans include automatic backups, but relying on them alone is not always enough. Sometimes you need an instant backup before making changes. Sometimes you want to store a copy on your local system. In other cases, you may want only specific files or only the database.
That is where a cPanel manual backup becomes useful.
A manual backup helps you:
- save your website before updates
- keep a copy on your computer
- restore data faster when needed
- move a website to another server
- recover from accidental deletion
- create a safe restore point before testing
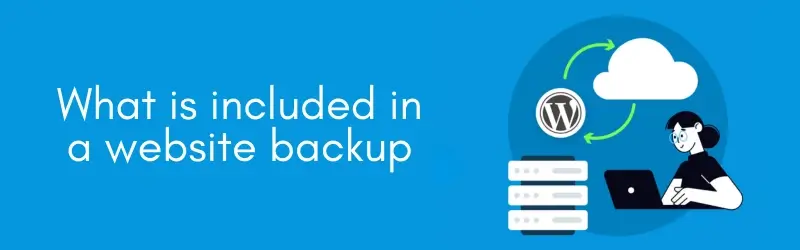
What is included in a website backup
Before learning the steps, it is good to understand what actually makes up your website.
A complete website usually includes:
- website files
- images and media
- themes and plugins
- configuration files
- databases
- emails, if hosted on the same cPanel account
- DNS or account-related settings in some backup types
Different ways to take a backup in cPanel
There is more than one way to backup website manually in cPanel. The most common methods are:
- Full account backup
- Partial backup of files
- Manual database export
- Backup through Backup Wizard
Each method has its own use.
A full backup is useful when you want a complete copy of your account. A file backup is useful when you only need website data. A database export is important for dynamic sites. The Backup Wizard is helpful for beginners because the steps are easier to follow.
Let’s go through each method properly.
Method 1: Take a full account backup in cPanel
A full backup is the easiest option if you want one package containing most of your account data. This usually includes website files, databases, email forwarders, filters, and account settings.
Step 1: Log in to cPanel
Open your hosting control panel and log in using your cPanel username and password.
Once inside, search for the Files section. Depending on your cPanel theme, the layout may look slightly different, but the options are mostly the same.
Step 2: Open Backup or Backup Wizard
In cPanel, look for:
- Backup
- Backup Wizard
Both can be used, but many users find Backup Wizard easier.
Step 3: Choose Full Backup
Click on Download a Full Account Backup.
This option is ideal if you want a complete downloadable archive for safety or migration purposes.
Step 4: Select backup destination
Usually, you will see options like:
- Home Directory
- Remote FTP Server
- Remote FTP Server (Passive Mode)
- Secure Copy
If you are downloading the backup to your own system later, choose Home Directory.
Step 5: Add email notification
You may get the option to enter an email address so you can be notified when the backup process is complete.
This is useful because full backups can take time, especially if the account has large files, many emails, or multiple websites.
Step 6: Generate the backup
Click Generate Backup.
Your hosting server will now start creating the backup file. It may not be ready instantly. Once complete, the backup file will usually appear in your home directory.
Step 7: Download the backup
Go to File Manager in cPanel.
Open the home directory and look for the backup archive file. It often has a file name that ends in .tar.gz.
Download it to your computer and store it safely.
Method 2: Back up website files manually using File Manager
Sometimes you may not need the whole account. You may only want your website files. This is common when you are changing themes, editing code, or moving the site structure.
Step 1: Open File Manager
After logging in to cPanel, click File Manager.
Step 2: Locate your website folder
For most primary domains, website files are usually stored in:
public_html
For addon domains or subdomains, files may be inside separate folders under public_html or another assigned directory.
Step 3: Select the website files
Open the correct folder and select the files and directories related to your website.
If you want a complete file backup, select everything inside that website folder.
Step 4: Compress the files
Click Compress from the top menu.
Choose Zip Archive or Tar Archive. A zip file is usually easier for quick downloading and storage on a local computer.
Enter a name for the archive and confirm compression.
Step 5: Download the archive
Once the archive is created, right-click it and choose Download.
Now you have a manual copy of your website files.
Method 3: Back up the database manually using phpMyAdmin
If your site uses a database, then backing up files alone is not enough. Websites like WordPress store posts, settings, pages, users, menus, and many other details inside the database.
So if you are planning a full manual website backup guide, this step is a must.
Step 1: Open phpMyAdmin
In cPanel, find the Databases section and click phpMyAdmin.
Step 2: Select the correct database
On the left side, you will see the list of databases.
Choose the database connected to your website.
If you are not sure which database belongs to the website, you can check the website’s configuration file. For example, WordPress stores database details inside the wp-config.php file.
Step 3: Click Export
After selecting the database, click the Export tab.
Step 4: Choose export method
You will usually see two options:
- Quick
- Custom
For most users, Quick is fine.
Select the format as SQL.
Step 5: Download the database file
Click Go.
Your browser will download the database backup as an .sql file.
Now your database copy is saved.
Method 4: Use Backup Wizard in cPanel
If you want a simpler step-by-step interface, Backup Wizard is a good choice.
Step 1: Open Backup Wizard
Log in to cPanel and click Backup Wizard.
Step 2: Click Backup
You will see two main options:
- Backup
- Restore
Click Backup.
Step 3: Choose full or partial backup
You can choose:
- Full Backup
- Home Directory
- MySQL Databases
- Email Forwarders & Filters
This makes it easier to download specific parts instead of the entire account.
Step 4: Download required backups
You can download:
- home directory backup for website files
- MySQL database backup for site content and settings
- email-related backup if needed
Which backup method should you choose
The best method depends on your goal.
Choose Full Account Backup if:
- you want a complete copy
- you are migrating an account
- you want a full archive for safety
Choose File Manager backup + database export if:
- you only need website data
- you want faster downloads
- you want better control over website files and database separately
Choose Backup Wizard if:
- you prefer a simpler interface
- you are new to cPanel
- you want partial backup options in one place
For most website owners, the safest method is:
- backup website files
- export the database
- save both copies offline
Best practices before taking a manual backup
A backup is only useful if it is complete and accessible. So before starting, follow these simple best practices.
Make sure you know which site you are backing up
If your hosting account contains multiple domains, double-check the correct folder and correct database before downloading anything.
Take backup before updates
Always take a backup before:
- CMS core updates
- plugin updates
- theme changes
- code edits
- migrations
- database cleanup
- installing third-party tools
Store backup in more than one place
Do not keep the only backup inside the same hosting account. Download a copy to your local computer or cloud storage.
Name your backup files properly
Use clear names like:
- website-files-backup-may-2026.zip
- database-backup-may-2026.sql
This makes it much easier to find the right restore point later.
Check backup size and completeness
After downloading, verify the file is not corrupted and the size looks reasonable. If a website normally has a large media library but your archive is tiny, something may be missing.

Common mistakes people make while taking backups
Many website owners think they have a backup, but later realize it is incomplete. Here are some common mistakes to avoid.
Backing up only files
Forgetting hidden files
Important files like .htaccess may be hidden in File Manager. Make sure hidden files are visible before compressing folders.
Downloading the wrong database
If multiple websites exist on one account, it is easy to export the wrong database by mistake.
Keeping backups only on hosting
Not testing restoration
A backup is only truly useful if it can be restored. If possible, test the restore process on a staging setup or spare environment.
How often should you take a website backup
There is no one perfect schedule for every site. It depends on how often the content changes.
A good rule is:
- daily backups for busy eCommerce or active business sites
- weekly backups for standard websites
- before every major change or update
- before moving the site or changing DNS
- before editing code or database settings
Can you restore the backup later
Yes, but the restore method depends on the type of backup you created.
A full account backup may need hosting-level restore support in some cases.
If you took website files and database separately:
- upload the backed-up files through File Manager
- import the
.sqldatabase through phpMyAdmin - check config settings if the database name, user, or password changed
Why manual backups still matter in 2026 and beyond
Website tools are improving, but manual control still matters. Auto-backup systems are great, but there are moments when you need a backup right now, before touching anything. Manual backups give you that instant layer of protection.
They are also useful when:
- shifting to another hosting provider
- making custom development changes
- troubleshooting broken updates
- cloning or staging websites
- keeping extra restore points
Final thoughts
Learning how to take a website backup in cPanel manually is not complicated, but it is extremely important. A proper backup can protect your website from data loss, update failures, accidental deletion, or security problems.
The safest way is to back up both website files and the database. You can do this through Backup Wizard, File Manager, and phpMyAdmin. If needed, you can also create a full website backup directly from cPanel.
The main thing is not to wait until something breaks. Take backups regularly, save them safely, and make manual backup a normal part of website management.
A few minutes spent today can save you a lot of trouble later.