
Top Featured
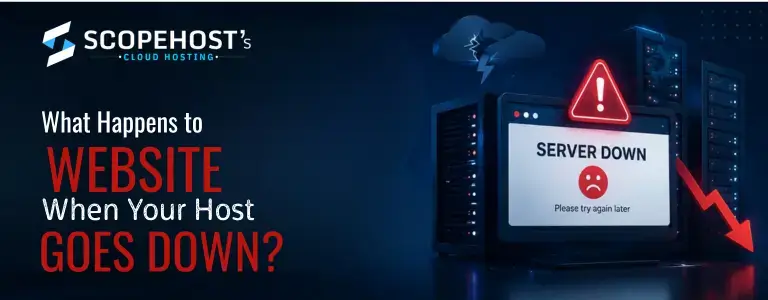
What Happens to Website When Your Host Goes Down?
Learn how web hosting downtime affects SEO, traffic, sales, and user trust, plus practical ways to reduce outages and improve website reliability.

Categories
Live Streaming Business
One-Stop Solution to Start your Live Streaming Business
Marketing Buzz
Click to explore posts in this category.
Press-Release
Click to explore posts in this category.
Promotions
Click to explore posts in this category.
Promotions|Marketing-Buzz
Click to explore posts in this category.
Technology Bites
Click to explore posts in this category.
All Articles
- Europe vs USA vs Asia data centers — does it affect speed?
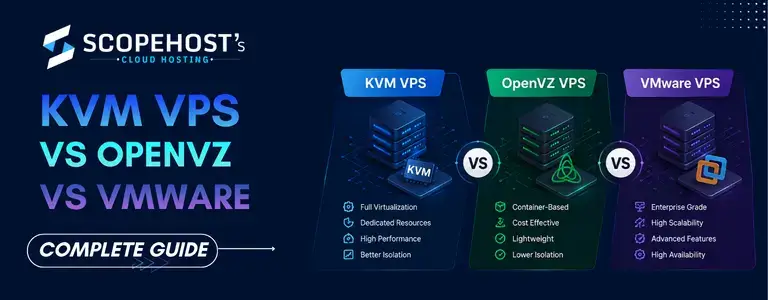
- KVM VPS vs OpenVZ vs VMware: Complete Guide
- Free Domain vs Paid Domain: Does It Matter for SEO in 2026?
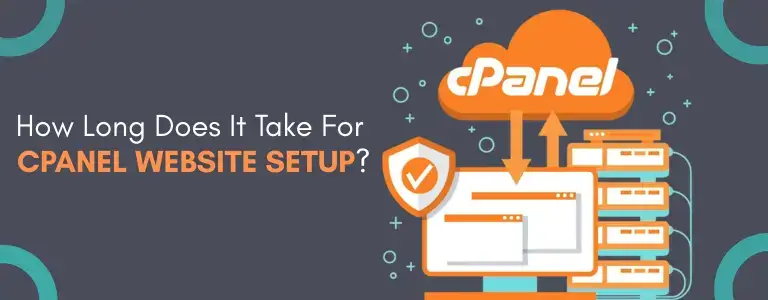
- How Long Does It Take For cPanel website setup?
- How to Create a Business Email with Domain in cPanel
- WordPress.com vs WordPress.org: Which Platform Should Choose?
- Server Log Analysis for Website Performance Troubleshooting
- How to Take a Website Backup in cPanel Manually
- The Smartest Way to Buy VPS Hosting in 2026 | USA & Netherlands VPS Plans
- How to Reduce Lag in Multiplayer Games Using VPS Hosting
- How to Start a Web Hosting Reseller Business Successfully
- 10 Signs You Need to Upgrade from Shared to VPS Hosting
- Why Netherlands Dedicated Servers Perfect for IPTV & Streaming
- What is LiteSpeed Hosting & Why it’s Faster Than Apache or Nginx?
- Best VPS Hosting Provider in Netherlands for Low Latency in 2026
- Best Dedicated Server for IPTV Streaming: Singapore & Netherlands
- Dedicated Server FAQ: Beginner’s Guide to Server Hosting
- Best Web Hosting Provider in Europe for Small Businesses
- Our Achievements:


- Our Tech. Partners: